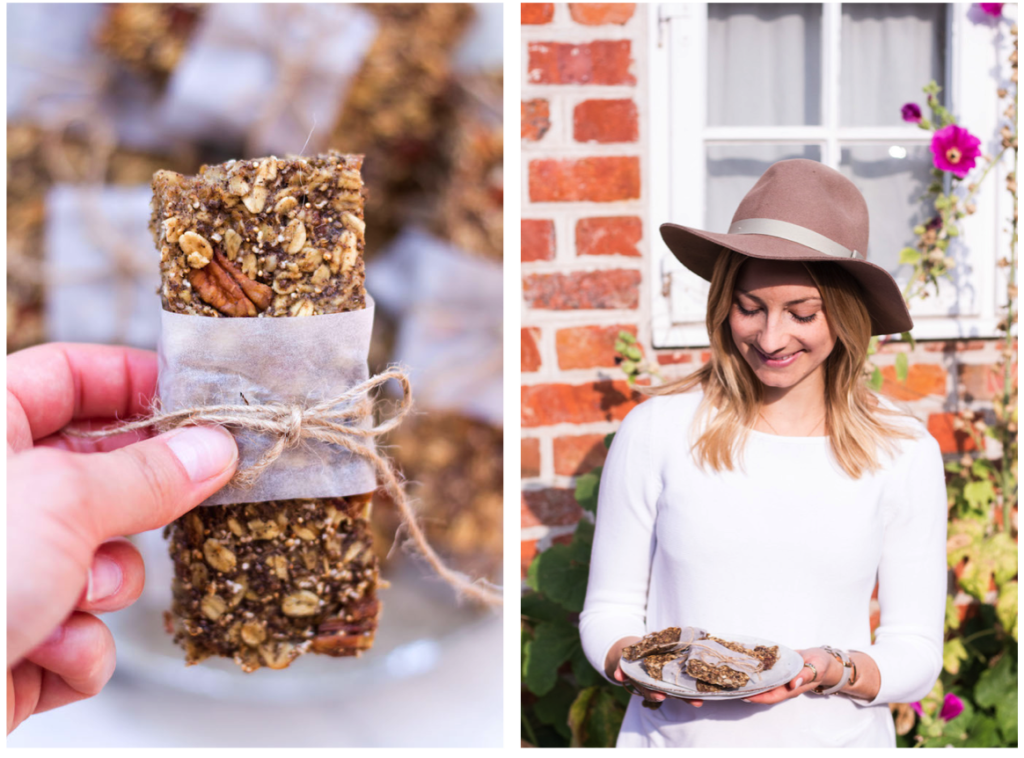
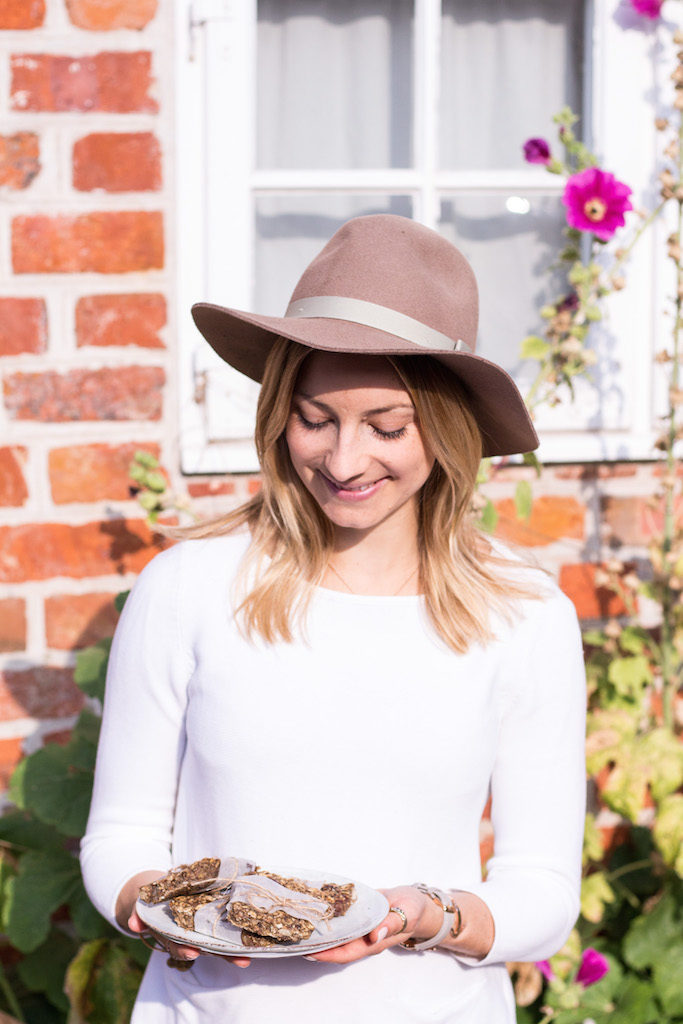
This is the first ever homemade granola bar recipe on the blog, and it’s not any granola bar recipe – it’s homemade amaranth pecan granola bars. I made these for my upcoming mother-daughter trip to the States tomorrow as granola bars are the perfect healthy snack for traveling. I really cannot wait to spend some quality time with my mom, read lots of books and say hi to my second home again. It’s been too long. There’s gonna be lots of WholeFoods shopping, country music and Southern iced tea and biking along the Florida coast. But before I go, I’ve got this wonderful recipe to share with you.
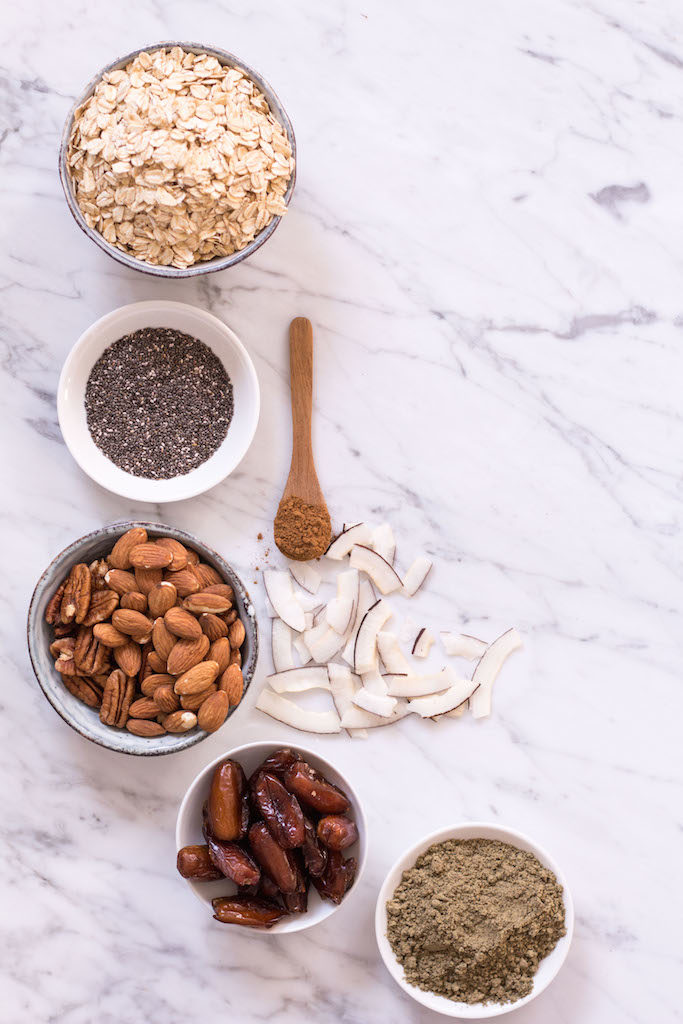
Have you ever had amaranth before? I have to say that I am surprised that amaranth is such an underrated pseudo grain. I would have expected it to become as popular and famous as its “sister” quinoa by now. Amaranth is also an ancient pseudo grain from South America that offers almost more health benefits than quinoa. It’s absolutely gluten-free, which is why it is great for celiacs and the gluten-intolerants. Almost 18% of amaranth is made out of plant-based protein, which is more than any other grain or pseudo-grain out there (yes, I am talking about you, Ms. Quinoa).
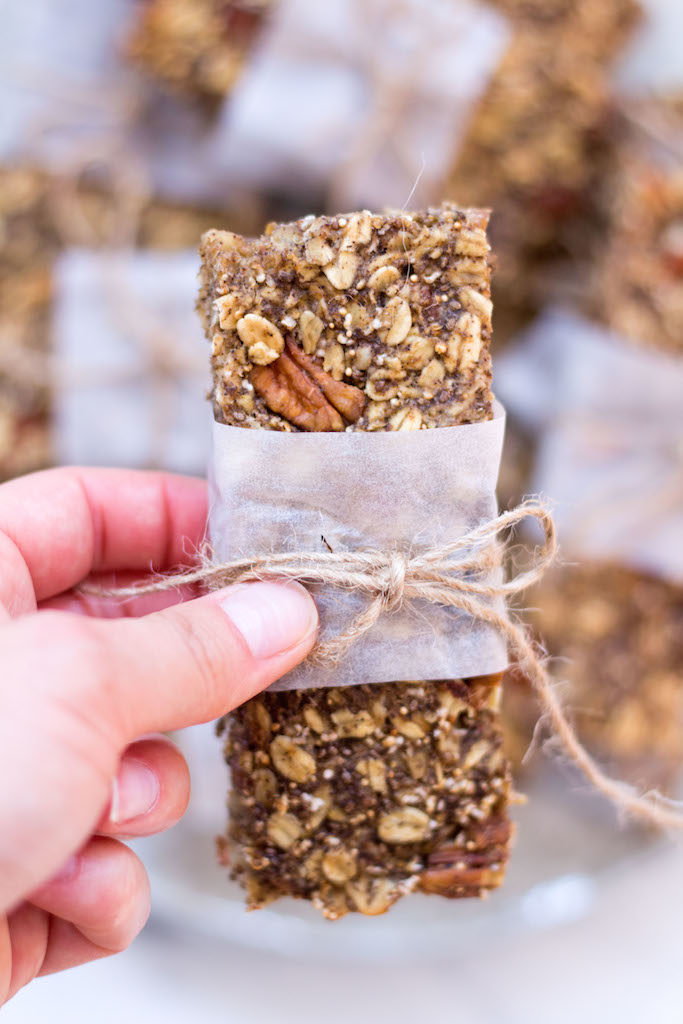
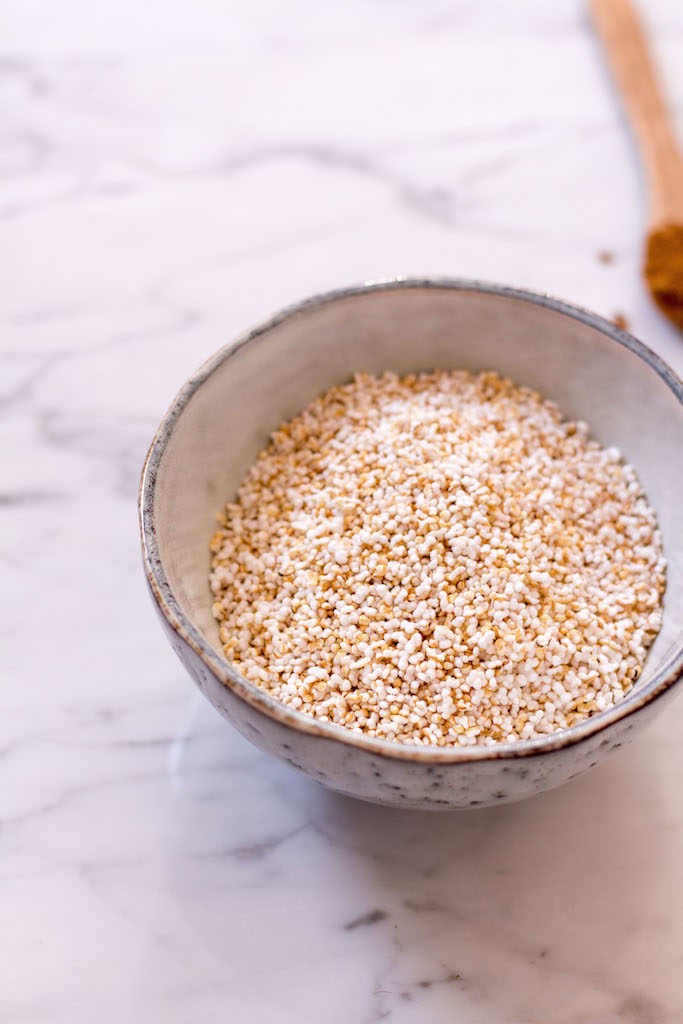
Other health benefits of amaranth include its high content of unsaturated fatty acids such as omega-3, which is important for a healthy heart as well as healthy and glowing skin. The carbohydrates present in amaranth are mainly fiber, which is why it keeps us full and satisfied for longer. Amaranth is also rich in iron and zinc, which is why it is great for women, especially pregnant women.
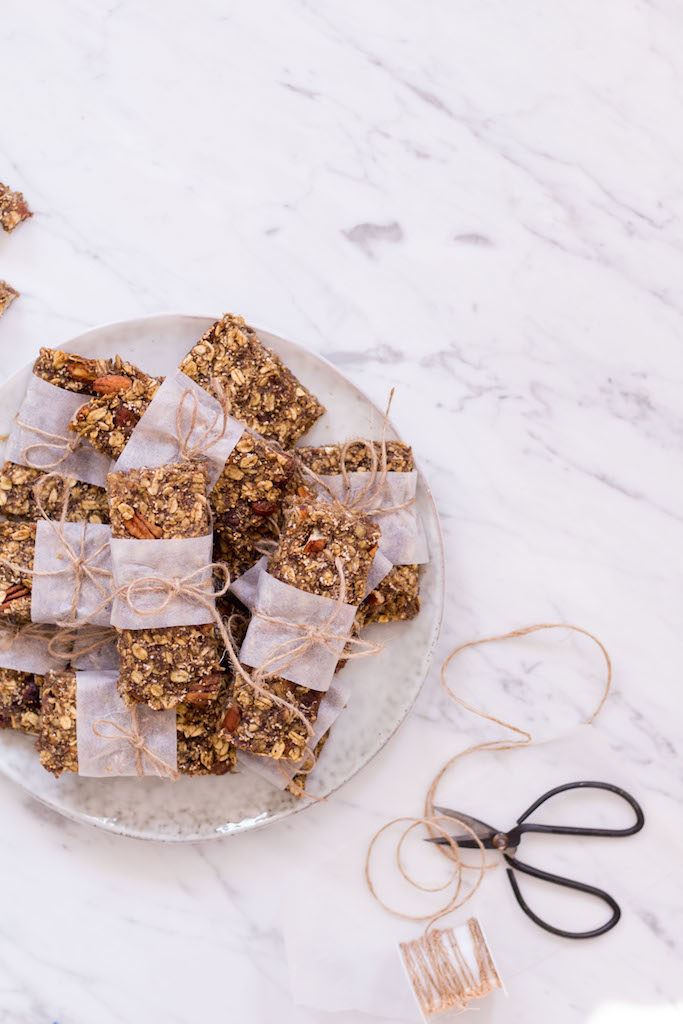
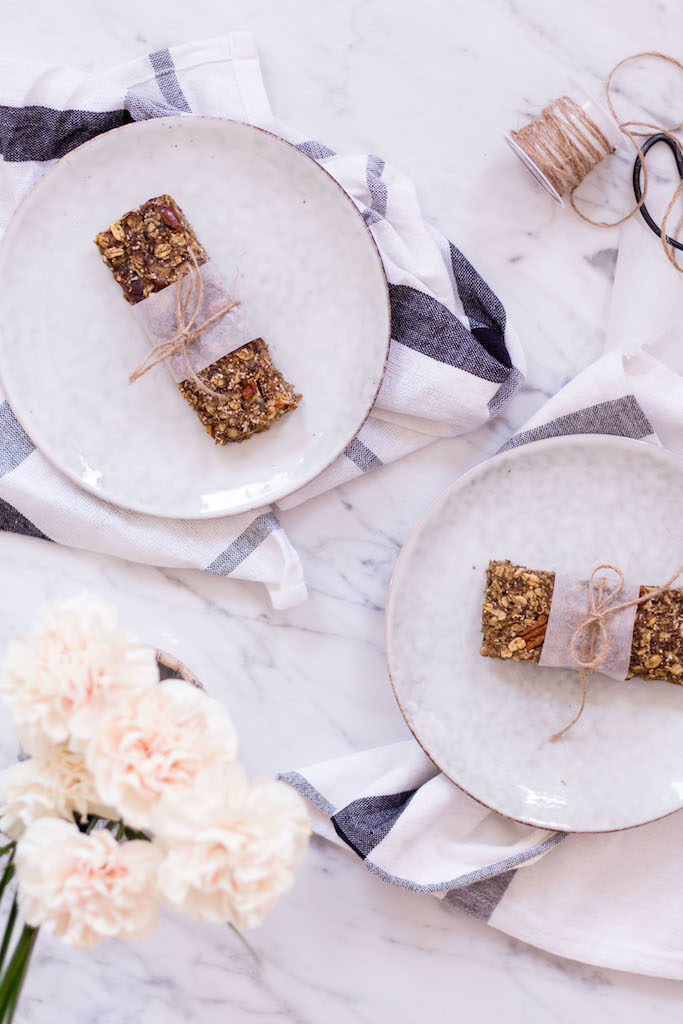
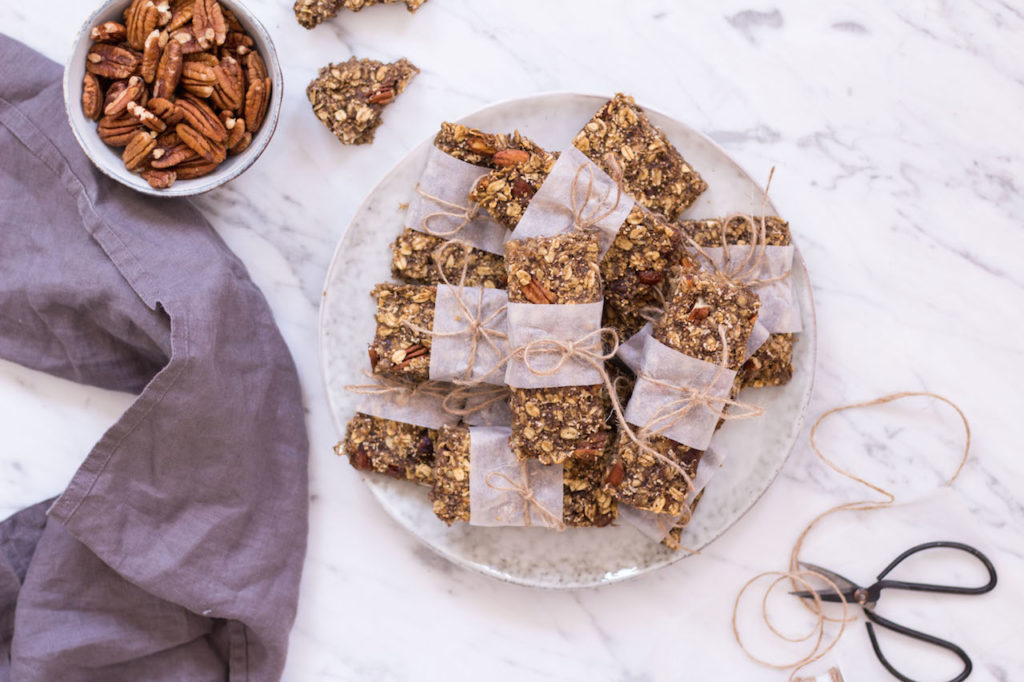
Besides amaranth, these granola bars contain lots of other healthy ingredients such as oats, which are rich in fiber, nuts, coconut, hemp protein, bananas and cinnamon. I would probably bore you if I listed all its health benefits, but I can assure you that every single ingredient is good for your health. Now, that does not mean that you can eat the whole batch at once. Granola bars are always rich in energy (aka calories), so eat them as a healthy snack whenever you need fast energy.
You can also mix and match the ingredients. You can use any kind of nut, or substitute nut with seeds such as pumpkin or sunflower seeds. If you don’t have hemp protein, you could use buckwheat flour or any other plant-based protein powder. If you don’t like dates, use raisins, apricots or figs. Just play around with it and find the flavor that you like. Enjoy the granola bars!
- 2½ cups (220g) of (gluten-free) rolled oats
- 1 cup (50g) of puffed amaranth
- ½ cup (50g) of pecans
- ½ cup (50g) of almonds or other nuts
- 1 cup (100g) of chopped dates
- ½ cup (25g) of coconut flakes
- ½ cup (40g) of hemp protein powder (or other plant based protein powder)
- 2 tablespoons of chia seeds + 6 tablespoons of water
- 2 tablespoons of extra-virgin coconut oil
- 3 very ripe bananas
- 1 tablespoon of maple syrup or honey
- 1 teaspoon of cinnamon
- a pinch of ground vanilla
- a pinch of salt
- Combine the chia seeds and water in a small bowl and let thicken for 10 minutes. Stir after 5 minutes so it thickens evenly.
- Roughly chop the nuts or pulse them once in a food processor or blender. Then combine all dry ingredients in a large mixing bowl
- Pre-heat the oven to 175°C and grease a baking pan with coconut oil or line with baking paper.
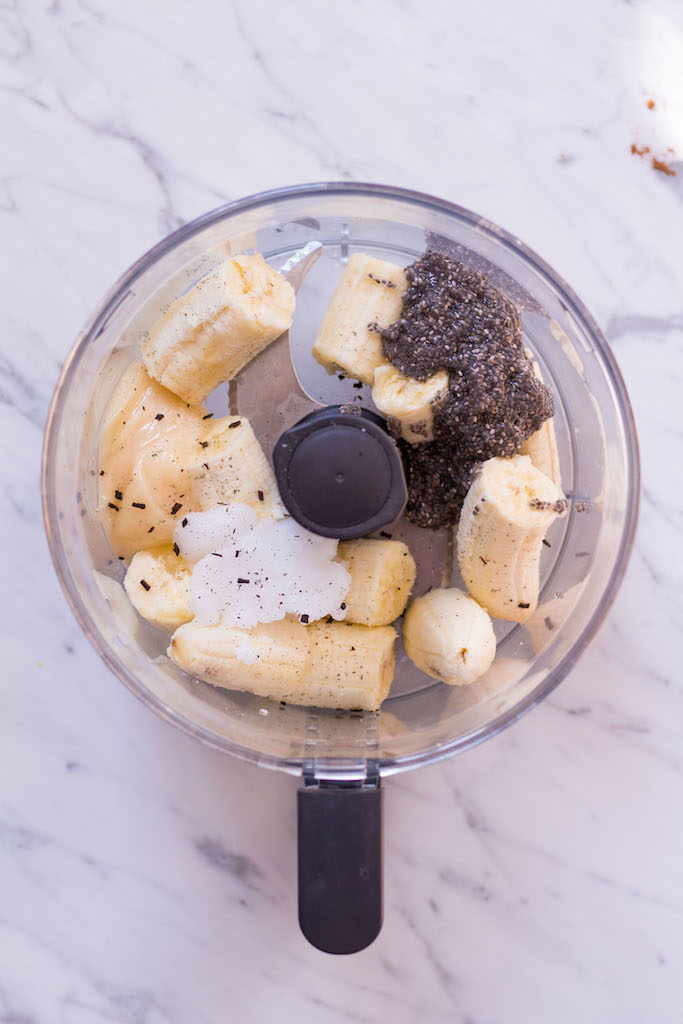
- In a blende or food processor, blend the bananas, coconut oil, maple syrup or honey, chia egg and vanilla to a smooth paste. You could also use a fork or a hand mixer for this.
- Pour the banana paste over the dry ingredients and mix well. It should be a sticky, not too runny dough. If it is too runny, add a little more oats or puffed amaranth.
- Spread the dough evenly in the baking pan. You want it to be roughly 1.5cm (1/2 inch) thick.
- Bake the granola bars for 20 - 25 minutes until the edges turn golden brown. The exact cook time will vary depending on your oven.
- Once they are golden brown, take them out of the oven and let sit for at least 25 minutes before cutting them in squares or rectangles.
- You can store the bars in an air-tight container in the fridge for up to 5 days.
Enjoy!
DID YOU MAKE THIS RECIPE OR HAVE ANY SUGGESTIONS, QUESTIONS OR COMMENTS?
Feel free to leave a comment below, and don’t forget to tag your creations on social media using #heavenlynnhealthy.
I’d love for this blog to be a dialogue.
Wow! You got so many healthy things into these it’s like all you’d need in a day! And in such a handy-dandy package. And I like how you show how-to pictures, I should try to do that more, it’s really helpful to envision the steps.
Thanks Lynn! Have fun traveling! Dee xx.
Hi Dee,
thank you so much! How-to-pictures really do take more time, but I think they are definitely worth it. My sister likes them especially, that’s why I am doing them in the first place 😉
Thanks for stopping by!
xx
Lynn
Hi lynn, can you freeze it? Congratulations! My family is very grateful to you.we have intolerances and your ideas has helped us a lot!
Hi Daniela,
I am so happy to hear this. And yes, you can definitely freeze them!
xx
Lynn