Hello friends, and happy New Year 2018!
Today I am happy to share with you the first recipe of my small „Healthy January“ series.
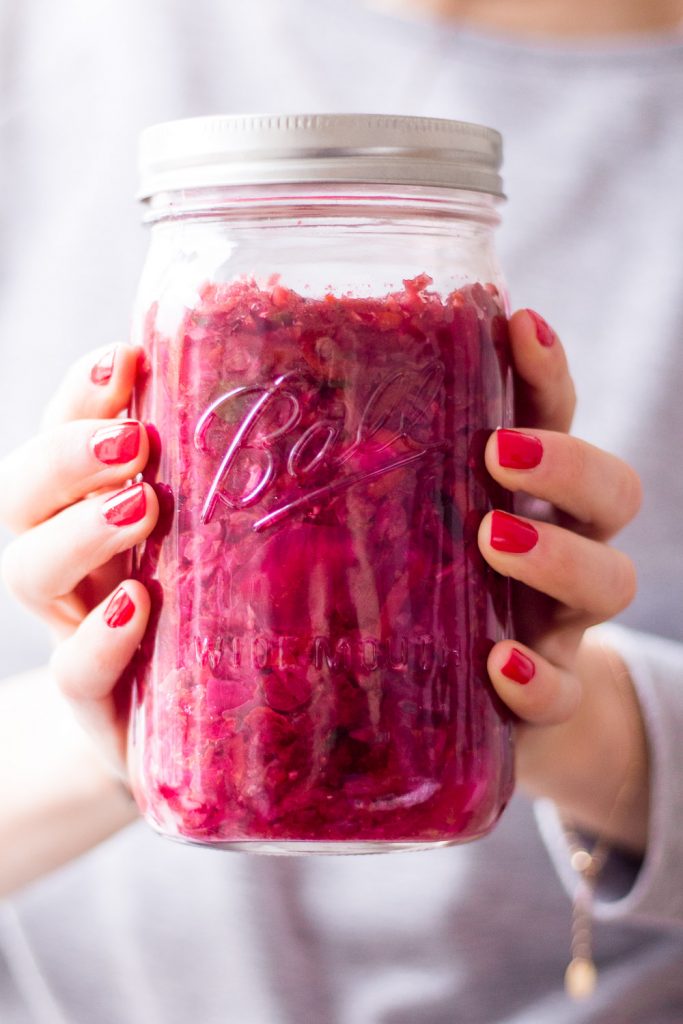
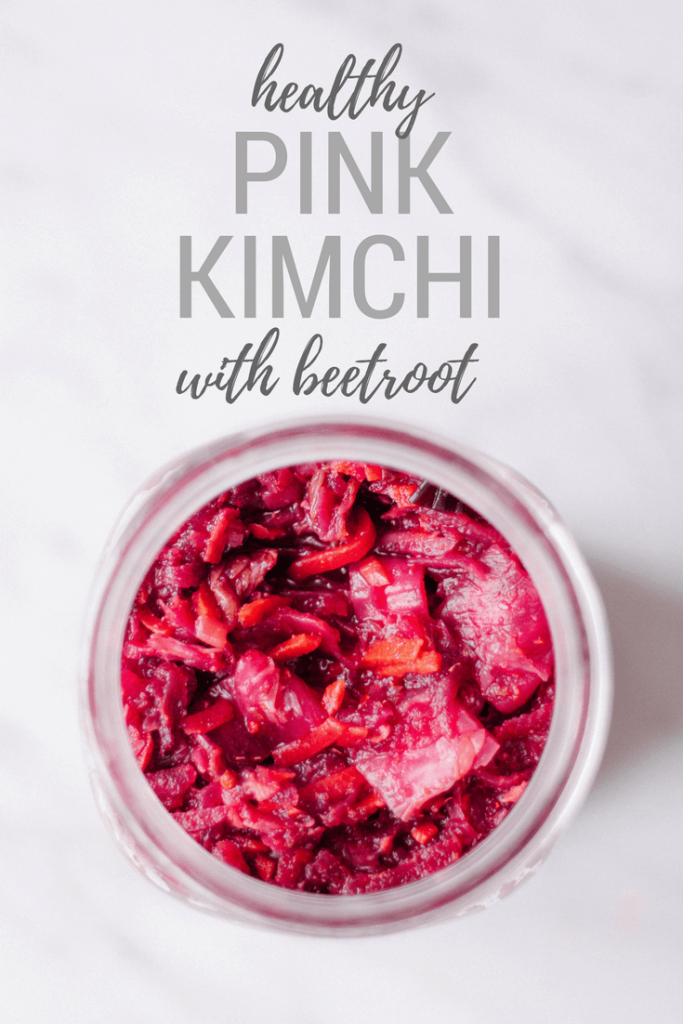
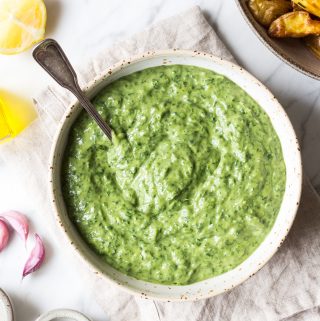
And none other than PINK KIMCHI marks the start of this healthy January.
I am not kidding you when I say that Jannis and I are pretty much obsessed with Kimchi! Obsessed with its tanginess, its spiciness and its gut-healthy properties (well, me more so than Jannis, obviously).
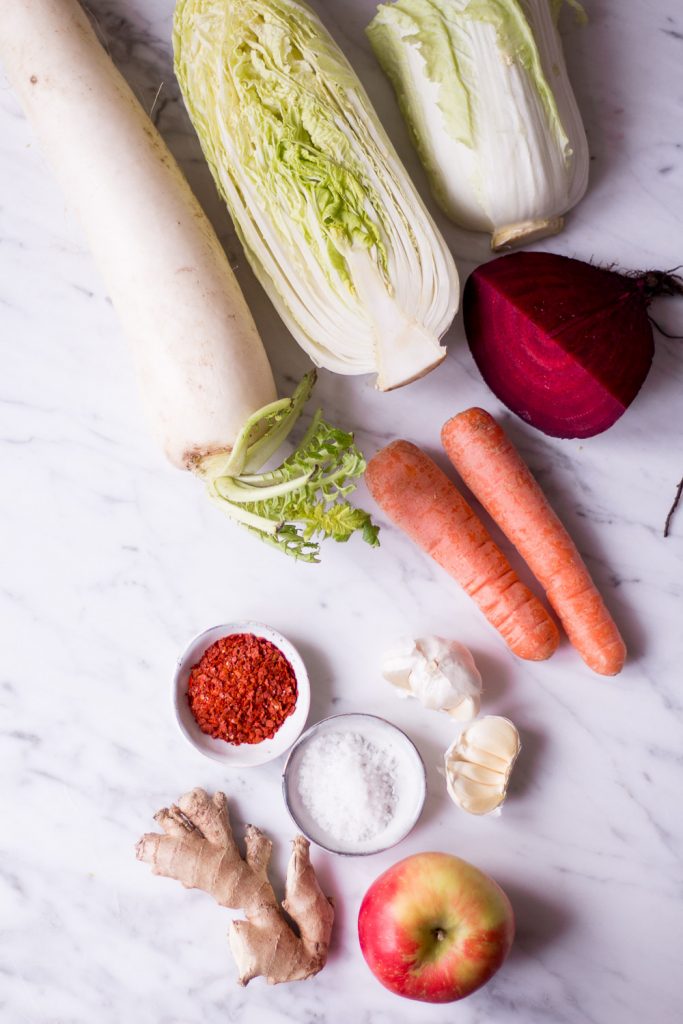
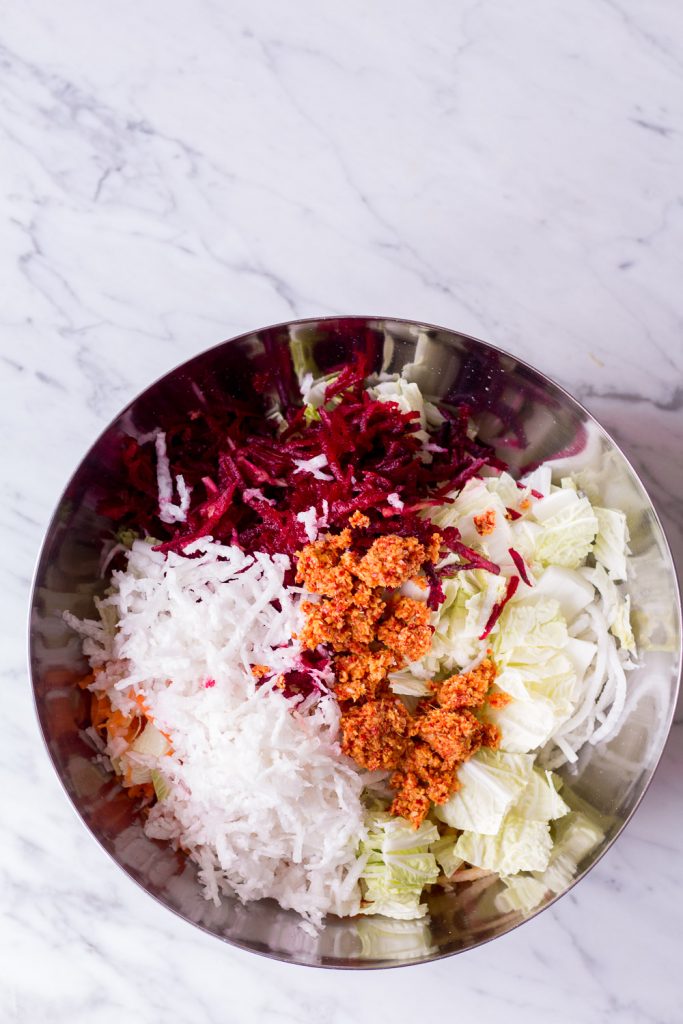
Healthy Pink Kimchi ingredients – missing the spring onions
If you’re like me and you live in a small town with one Chinese, one Vietnamese and one Thai restaurant, then you will probably be like: Kim…what?? So let me introduce you to Kimchi, what it is, where it comes from, and why it is so so good for you.
Kimchi is the national dish of Korea, fermented cabbage. It’s gained a lot of popularity in the Western world lately, but it’s been a central part of the Korean cultures forever. The reason Kimchi is so popular is the way it is made: it is a raw food that contains so many vitamins, minerals and fibers that some claim it to be the healthiest food on Earth!
Ok, but many other foods contain such an abundance of nutrients: kale, quinoa, watercress, blueberries…
Yes, but the real reason why Kimchi is so healthy is the amount of bacteria it contains. Bacteria! Yes, you heard right. Bac-te-ri-a. The GOOD kind of bacteria. The kind that lives in your gut and basically keeps you alive. This kind of bacteria is called „probiotics“. As up to 80% of your immune system sits in your intestine, this is huge, guys! Probiotics are responsible for a whole number of vital functions down there: an intact immune system, digestion, skin condition, blood sugar levels, and most importantly a healthy bowel movement.
 So how can we digest more of those probiotics? The answer is right here and probably lives in your grandmother’s basement already: fermented foods. Sauerkraut, pickles, kimchi. But also in your fridge in yoghurt (the natural one), kefir, miso, tempeh or kombucha. Our ancestors already knew how to get enough of those healthy bacteria – via lactic acid fermentation. Lactic acid fermentation is known as the process of preserving vegetables whose natural sugars feed the bacteria, which produce the natural preserving lactic acid. While the process of lactic acid fermentation was used in former days as a means to preserve, these days fermented foods are mainly known for their delicious sour, tangy taste und gut-healing properties.
 I had been meaning to try fermentation for the longest time and last year I finally started my first DIY fermentation project: homemade kimchi! Since I am not an expert at fermentation, I used this recipe by Sarah Britton as a base. Sarah’s recipe is plant-based and soy-free, and it seemed…well…easy! That should be something I can do. Since I cannot seem to follow recipes, and since I had had pink kimchi back in Bali, I made my own version using fresh beetroots. Because beets make everything better, right?
So this is how lactic acid fermentation works:
Step 1: Washing, cutting and grading the vegetables.
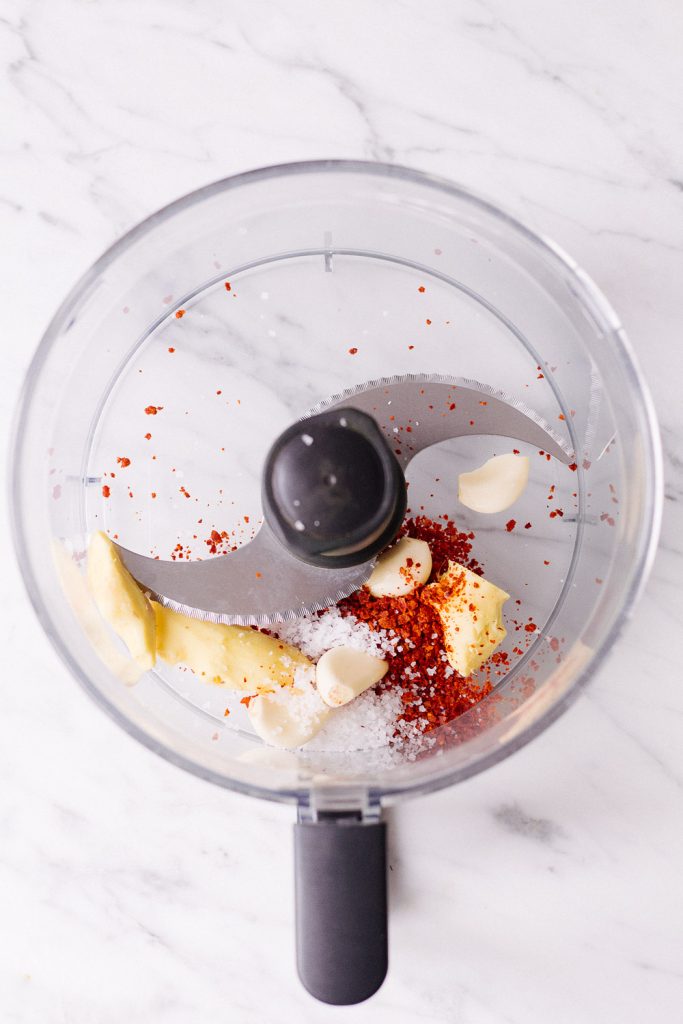
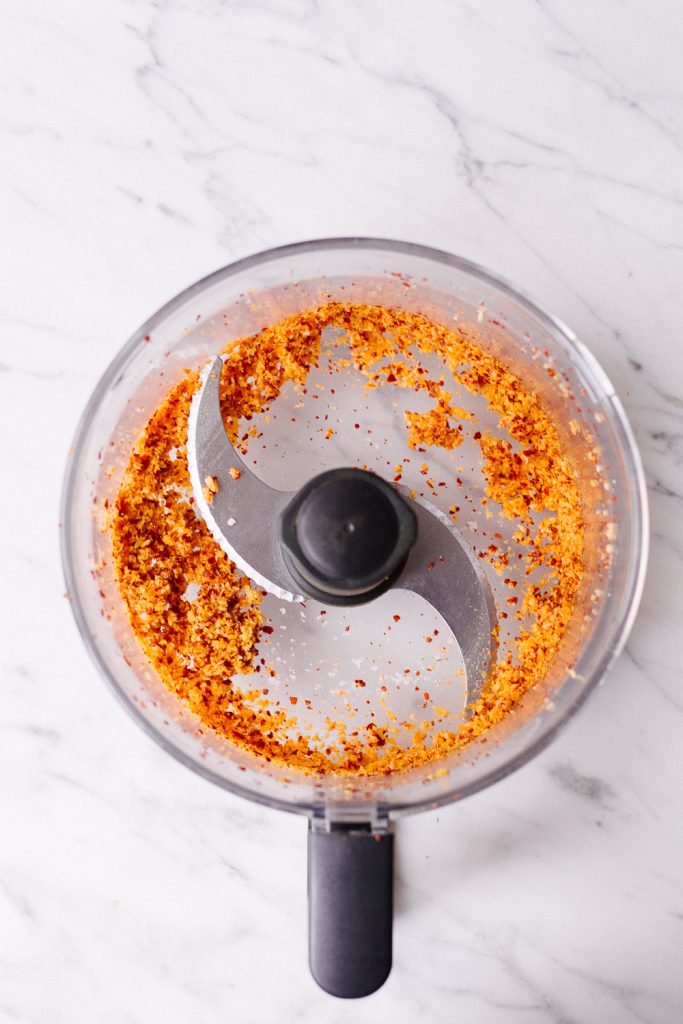
Step 2: Mixing ginger, garlic and chili flakes and salt in a food processor.
Step 3: Combining everything and start massaging those veggies until the cabbage loses all the liquids.
Step 4: Sterilize glas containers.
Step 5: Let it ferment in glas containers for 2 – 3 days.
Before you get into the Kimchi-game, here are some things that you need to know before getting started:
Read before making kimchi:
- The longer your kimchi stays on the kitchen counter, the stronger its taste. I like my kimchi to be stronger, so I leave it on the counter for 3 days before placing it into the fridge.
- Making kimchi leaves an intense smell in the room, so make sure to make kimchi in a room with windows and doors. This way you can prevent your whole apartment to turn into a kimchi factory.
- Not everyone likes the taste of kimchi. Traditionally, kimchi is made with fish sauce and soy sauce, which I did not use to make it more appealing to a larger crowd. This kimchi tastes a lot like ginger, garlic and slaw. It also does not have an earthy-taste from the beetroots.
- Kimchi is similar to tzatziki – not the taste, but the taste (and smell) it leaves in the mouth. So I wouldn’t recommend eating kimchi before a date or an important appointment. Your dentist probably also won’t be too fond of kimchi.
- Kimchi stimulates bowel movements. Hence, it may lead to mild flatulence. This is totally normal and no need to worry. Start with small amounts of kimchi and then work your way up – your gut and your health will appreciate it!
- Some kimchi recipes call of small carbon dioxide bubbles on top of your kimchi. My kimchi attempts did not have these, and it still turned out delicious.
- If you see mold on your kimchi, throw it out! Your kimchi should have a strong and sour taste, but should never me foul!
- How will you know that your kimchi is ready? I had never made homemade kimchi before, so I had no idea what the taste would be like. I think the kimchi is good enough for my taste after 3 days, then I place it into the fridge. If you like it even spicier and more sour, then you can leave it up to 4 or even 5 days on the counter.
Now, go and explore this fun way of improving your gut-health. I cannot wait to see your attempts – just share your kimchi with me on social media using #heavenlynnhealthy.
- 1 Napa cabbage
- ½ daikon radish
- 2 - 3 carrots, depending on the size
- 100g of fresh beetroot
- 4 spring onions
- 45g of fresh ginger (about 8 - 10cm)
- 4 cloves of garlic
- 1 tablespoon of chili flakes, start with 1 teaspoon if you do not fancy spicy food
- 1 teaspoon of sea salt
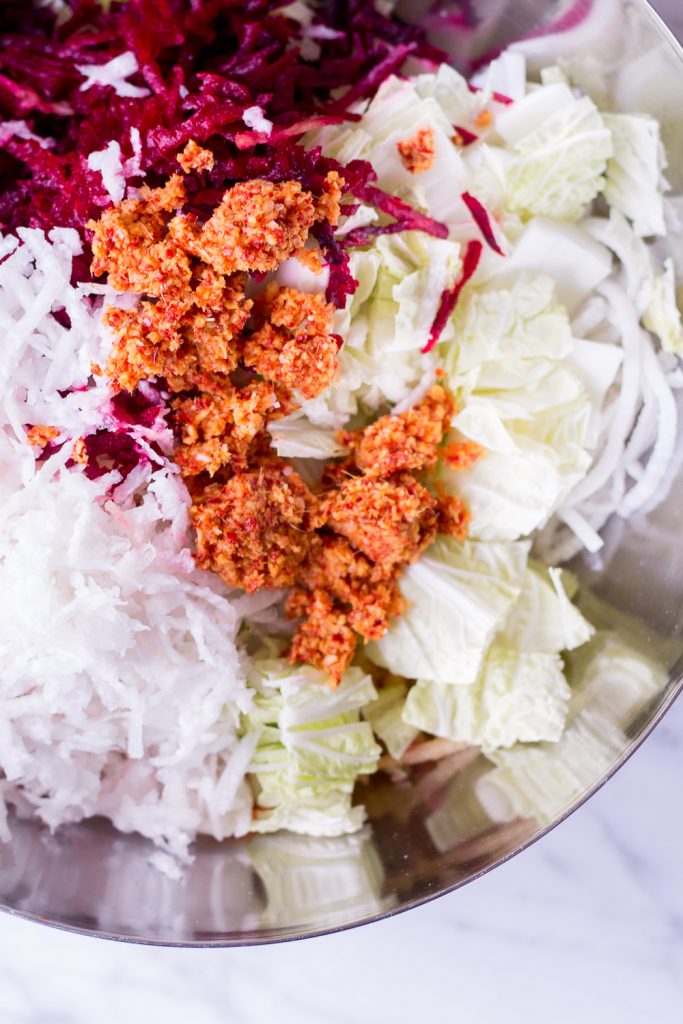
- Wash all of the veggies. Cut the Napa cabbage into bite-sized pieces. Julienne the carrots, and the daikon radish, grate the beetroot. Chop the green onions and the apple or pear and place all the vegetables into a very large bowl.
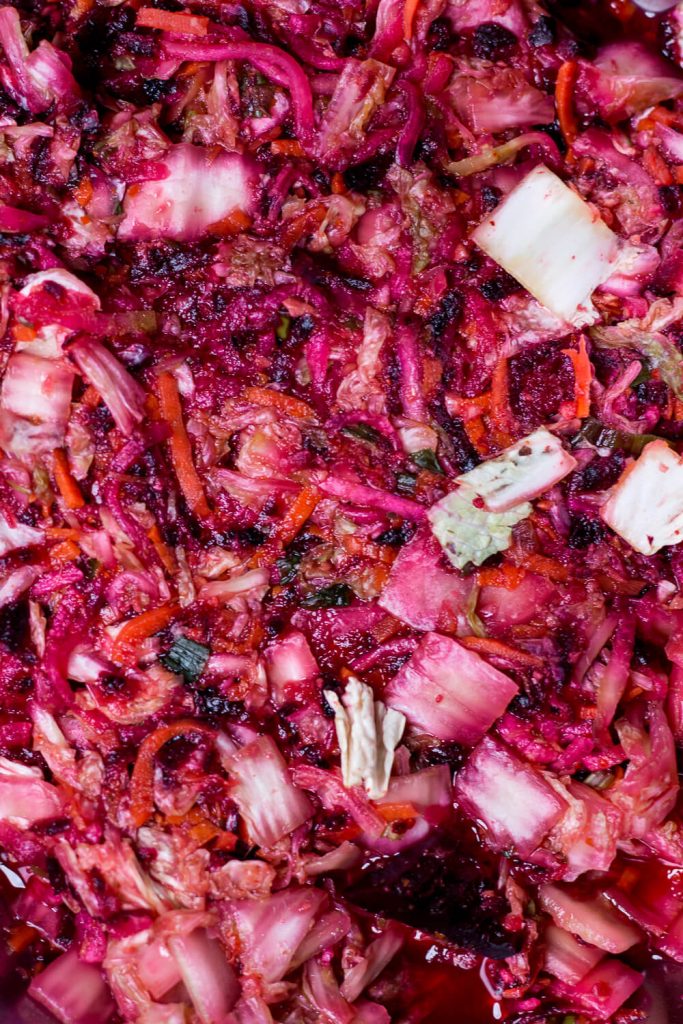
- Blend the garlic, peeled ginger, chili flakes and salt in a food processor. Add this spicy mix to the vegetables. Protect your hands with rubber gloves and start massaging the vegetables until the cabbage softens and releases water. You will want a lot of this pink brine, so massage everything for about 5 minutes.
- Cover the bowl with a clean towel and let it sit for about 6 hours, massaging for about a minute or so every 2 hours.
- Bring a large pot of water to a boil. Place your glas containers into the pot and boil the glas and the lit for about 20 minutes. Using sterile equipment, place the glas on a clean towel and start filling it with the kimchi. Make sure to leave a bit of space on top for the carbon dioxide. Losely tighten the lid and let the kimchi stand on the kitchen counter for about 2 - 3 days. Open the lid every now and then to release the carbon dioxide.
- Smell and taste the kimchi now and then. It should be quite spicy, sour, but not foul. Store it in the fridge for many months.
Enjoy!
Did you make this recipe? Let me know in the comments below or share a picture on social media using #heavenlynnhealthy.


Leave a Reply